Introduction
I will admit that there is nothing more annoying to me than making a large print only to find that I missed a few dust spots during post processing. In this tip, I will show you how to quickly and easily get rid of those annoying little dust spots using Adobe Lightroom.
Procedure
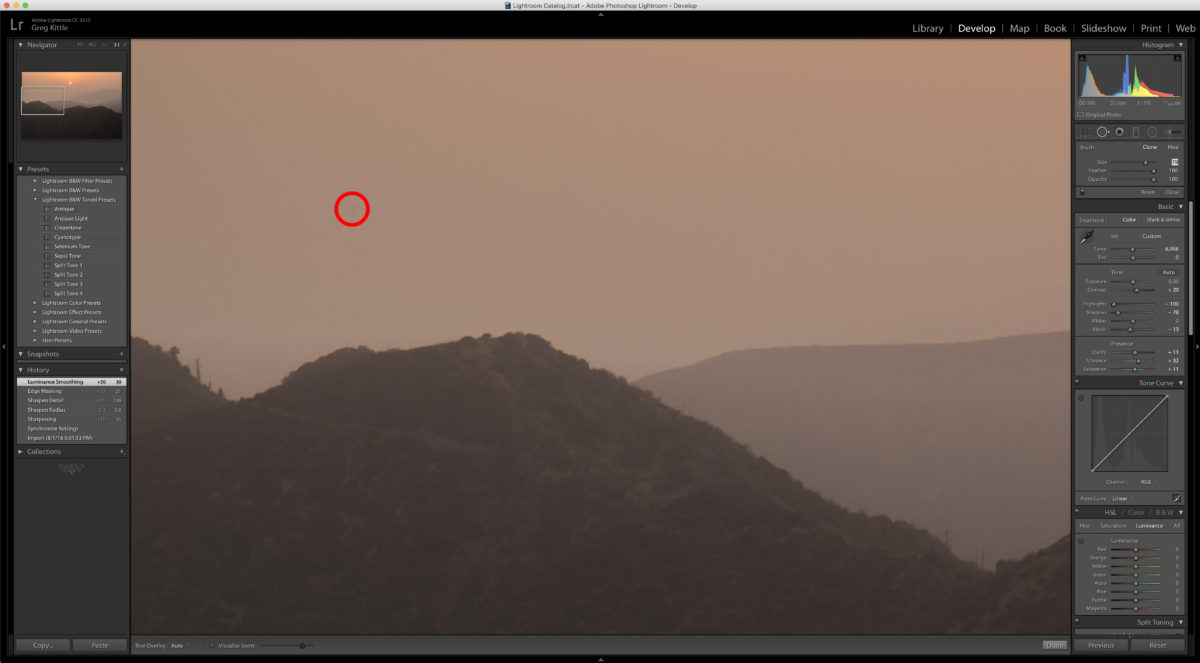
First, open the image in the Develop module within Lightroom. Then, zoom in on the upper left-hand corner of the image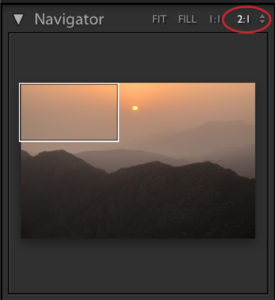 . Personally, I like to zoom into a 2:1 ratio as this allows me to easily discover the dust spots (see image at right).
Now that you are properly zoomed into the image, take a close look for any dust spots or other objects that could be mistaken for dust.
The Lightroom tool that we will use to clean up our dust spots is the Spot Removal brush, located just below the histogram on the upper right-hand corner, as you can see in Figure 1. This is the one with the circle and an arrow pointing to the right. I know, if you are a seasoned Lightroom user, you will be getting bored by now, but I promise things will get more interesting!
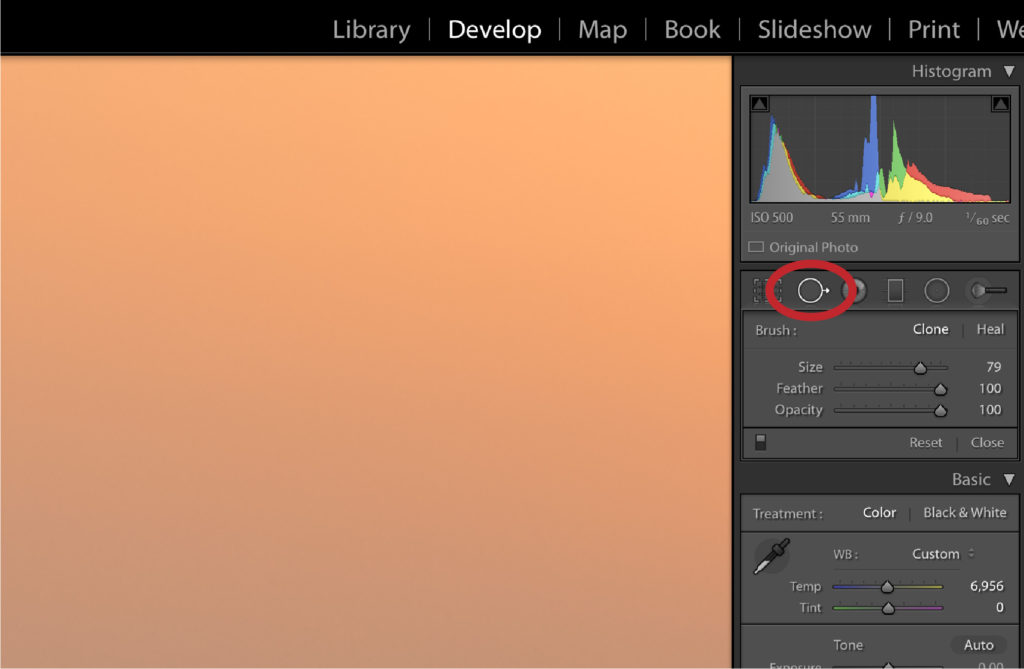
Figure 1
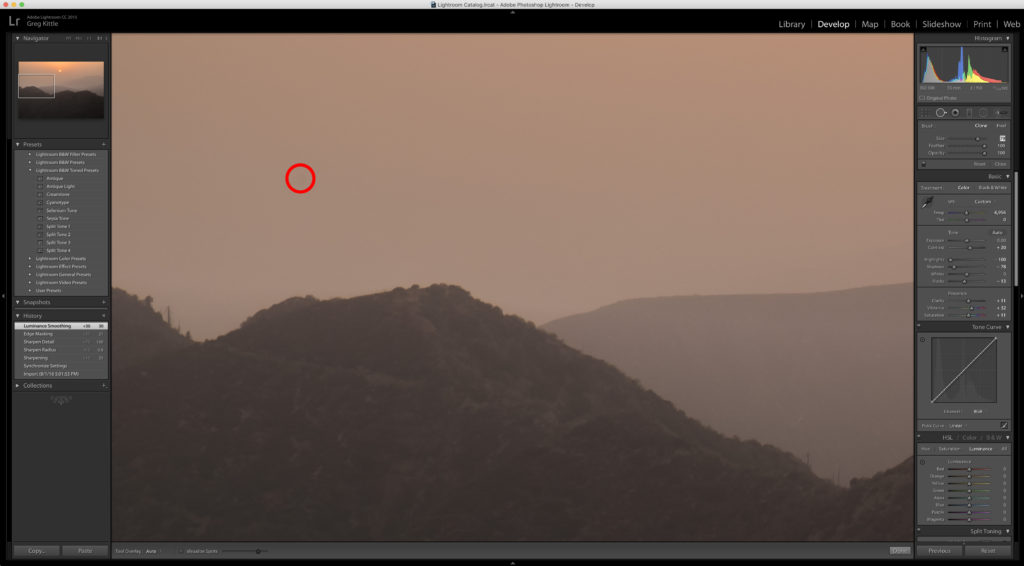
Now is time for the fun part. Take a look at the image for dust spots, and chances are you will spot most of them pretty easily. Take a look at the image in Figure 2 to see what to look for. I chose this image not because of its intrinsic beauty (I will admit, it is not one of my personal favorites) but because of its simplicity. Click on the image for the full-sized JPEG.
Figure 2
I know that is difficult to see in the image above, but trust me on the full-sized image it was very visible.
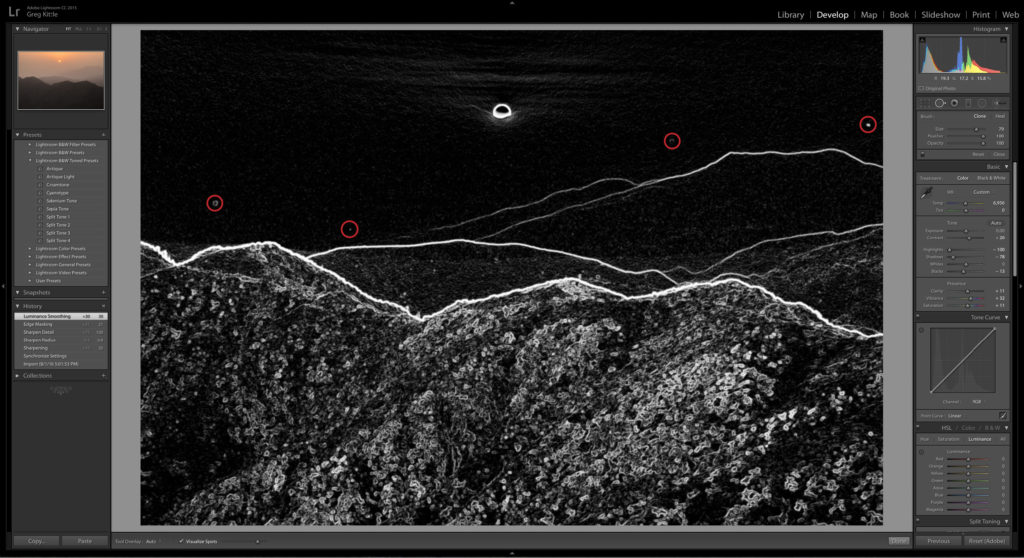
However, not all dust spots will be so easy to find, and for those more allusive spots there is another trick that Adobe has built into Lightroom. This is a technique called “visualize spots,” and it becomes available when the Spot Removal brush is activated. To use this feature, click the “Visualize Spots” check box located on the lower toolbar, shown in the image at the right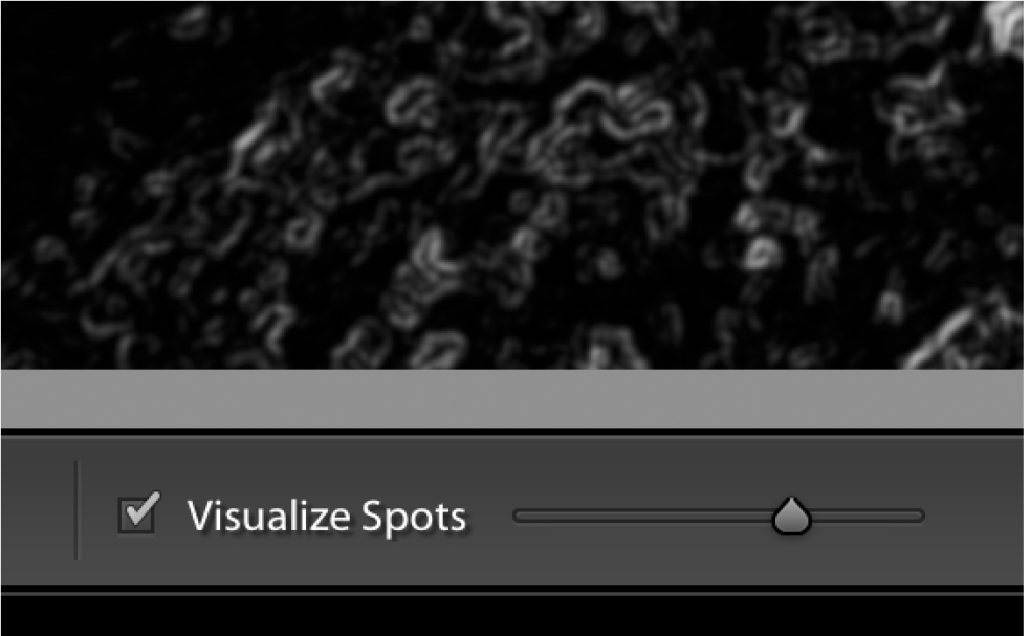 . If the toolbar is not showing, press “T” to make it appear. Also notice a slider just to the right of the check box. This slider will adjust the threshold, and will need to be adjusted separately for each image. Play around with this threshold slider until you get comfortable with it. Notice a spot that showed up when “Visualize Spots” was checked in Figure 3.
Figure 3
Notice that this spot is also visible on the picture below without Visualize Spots turned on, but is much more difficult to see and quite frankly I would have probably have missed it. The opposite can also be true, sometimes it is almost impossible to find all the spots when Visualize Spots is turned on, especially on a very busy image. That is why I recommend using both methods to find your dust spots, one time with Visualize Spots turned off and one time with it turned on.
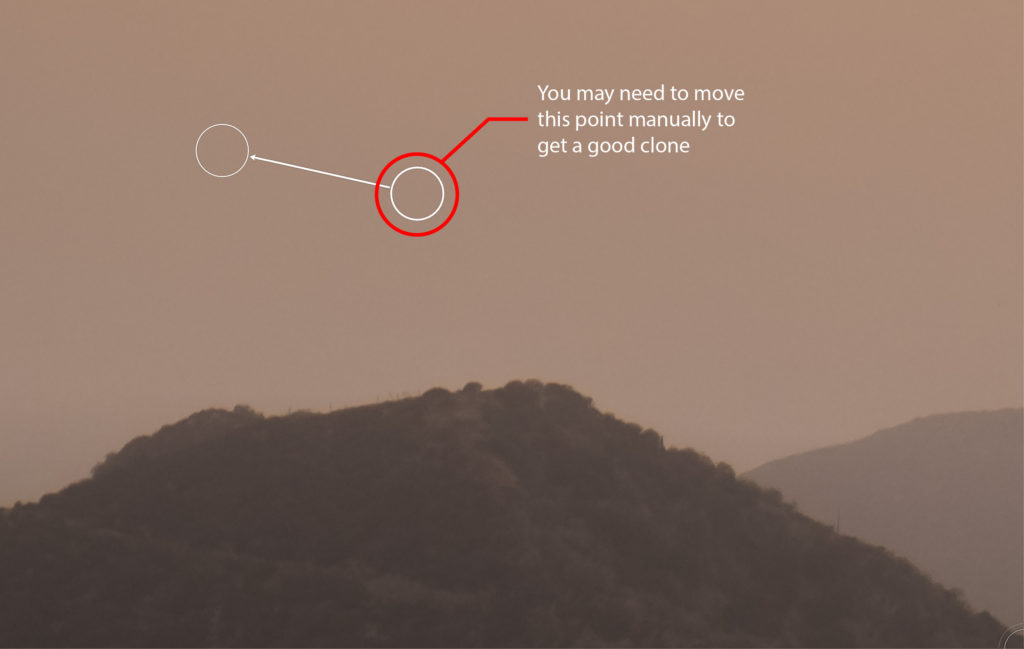
To clone out the dust spot, with the Spot Removal brush activated, just 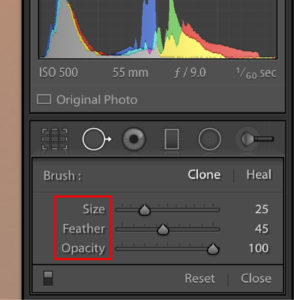 position it over the dust spot and click on it. You can adjust the size of the brush by clicking on the left or right bracket keys. Lightroom will automatically attempt to locate the best place to clone from, and it usually does a pretty good job. Most of the time I just leave it, but occasionally it will make a bad choice and I will have to reposition it. When this happens, simply drag it to a more appropriate location, as shown in Figure 4. Play around with it until you get a good result. One more tip: make sure the brush is feathered out appropriately. If not, you will get an ugly spot on your image where you cloned out your dust spot. I personally find that a feather of 60 to 70 works best. The image above shows the Spot Removal brush settings.
Figure 4
Now you need to follow this same procedure for the entire image. To navigate throughout the entire image, begin as I described above zoomed in at a 2:1 ratio. On a Mac, press the “fn” key and the “page up” or “page down” keys. This will automatically take you to the next area of the image, keep doing this until you have scanned the entire image. On a PC, the procedure is the same except that you will not need to use the “fn” key.
Notice how it even resizes the window properly for me when I pan down using this technique. Pretty amazing I would say!
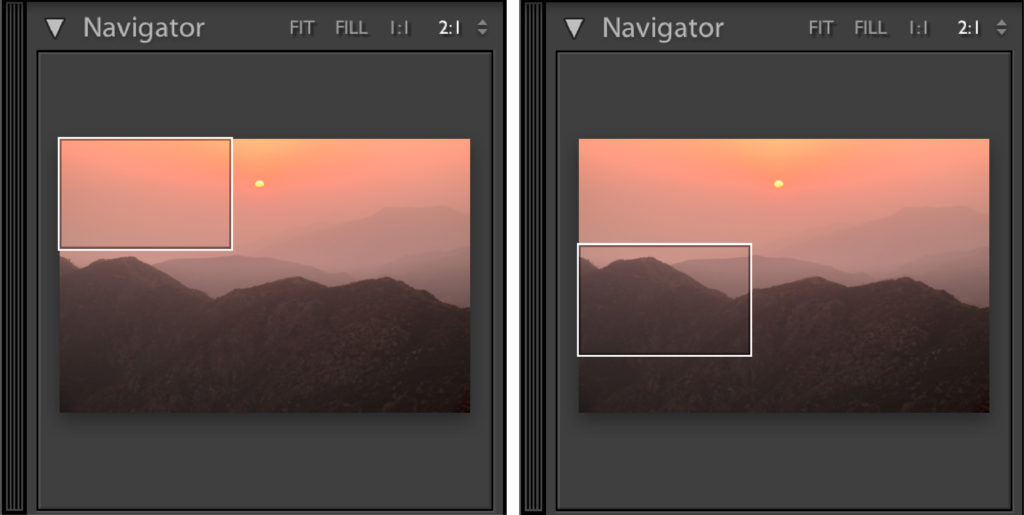
Figure 5
One last comment: I would do this pretty early on in your workflow, especially if you are using Lightroom as a RAW image converter and do most of your image editing in Photoshop. Trust me, this will save you a lot of headache later.
Conclusion
Using the procedure and techniques I described in this tip will greatly reduce the amount of dust spots in your final images. However, like all things in life, the more you practice it, the better you will become. It is a little tedious, but believe me, the effort is worth it.


